
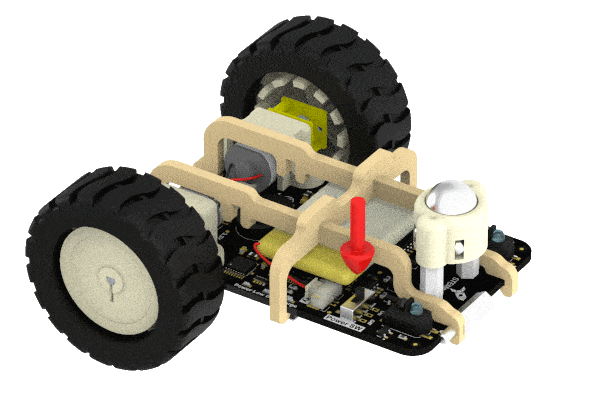
Quarky
Quarky is going to be your friend throughout this adventurous journey. So it’s better that you get to know about him. In this lesson, we will do the same.
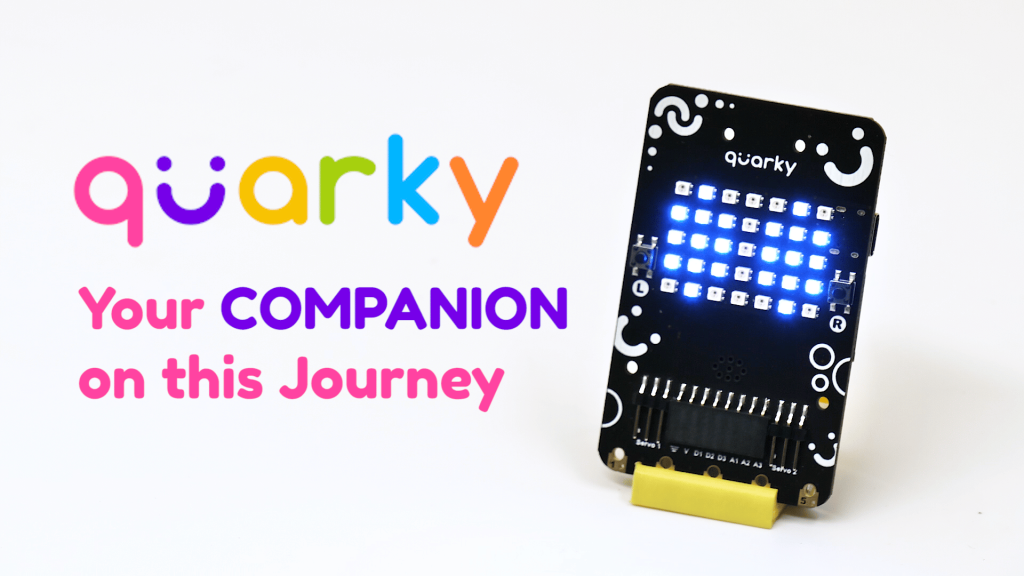
Quarky is an amazing electronic board specifically designed for students. With this board, you can learn various cutting-edge concepts in a fun and interactive way. You can create numerous exciting projects such as an expression detector, AI delivery bot, home automation system, and more.
You don’t have to remember any of the features right now as we’ll go through each of them in detail in the coming lessons.
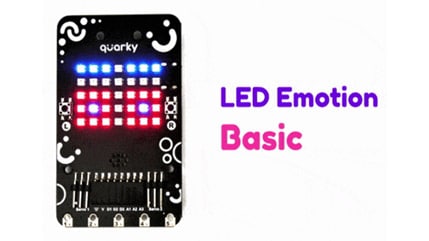
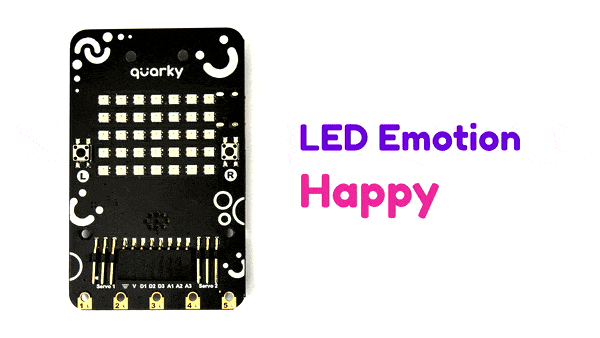
Activity 1: LED Emotions with Quarky
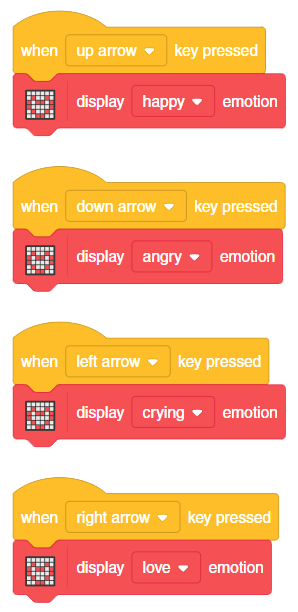
Did you know that our friend Quarky can be expressive just like us? We can tell what it’s feeling just by looking at its eyes – which happen to be an RGB LED matrix! We’re going to use this matrix to display different expressions so that Quarky can show us how it’s feeling.
Coding Steps
Follow the steps below:
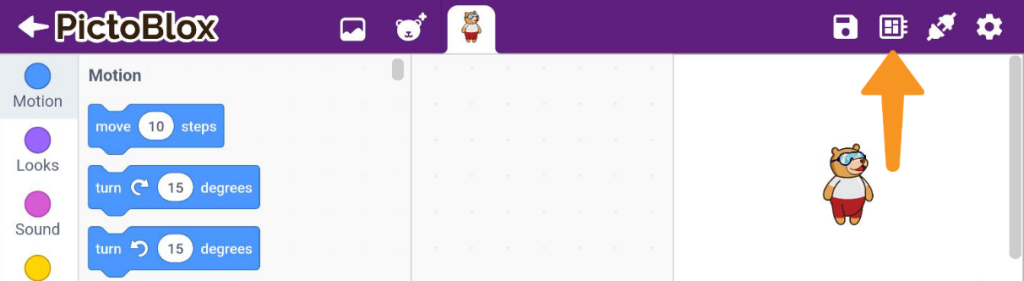
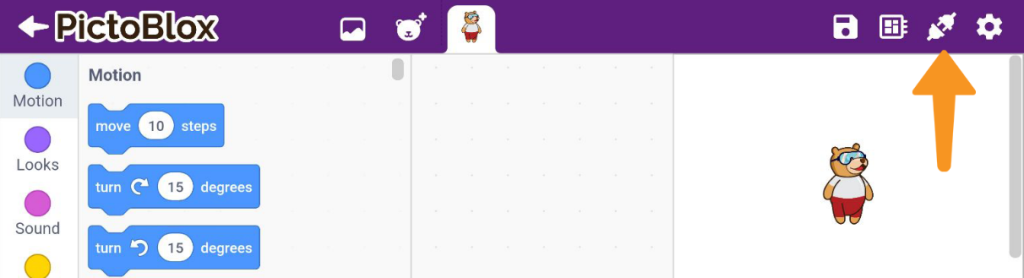
- Open
PictoBlox App, go toMy Space, and click on+button to create a new file. - Let’s begin by first connecting
Quarky to PictoBlox.Turn ONQuarky with the switch on the back side of the robot.
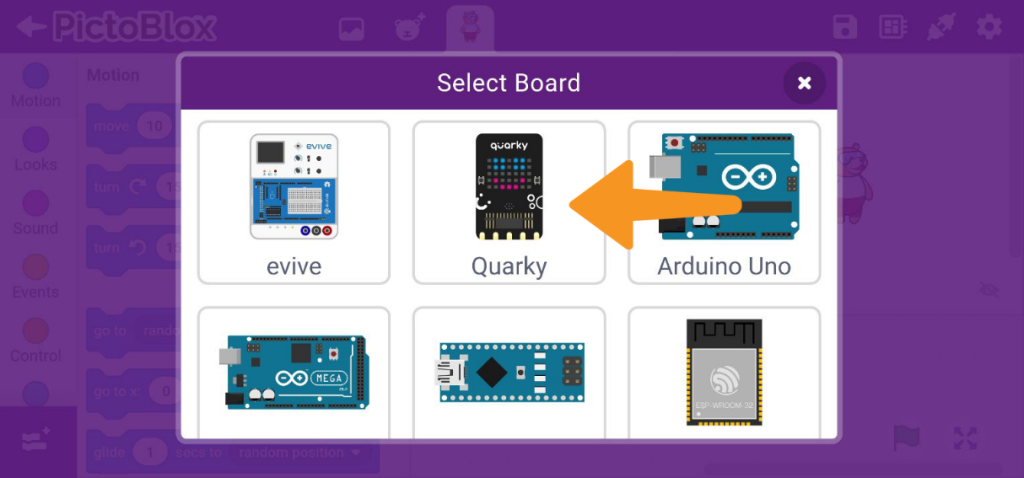
- Click on the
Boardsign.

- Select the
Quarkyboard.

- Click on
Connectsign.

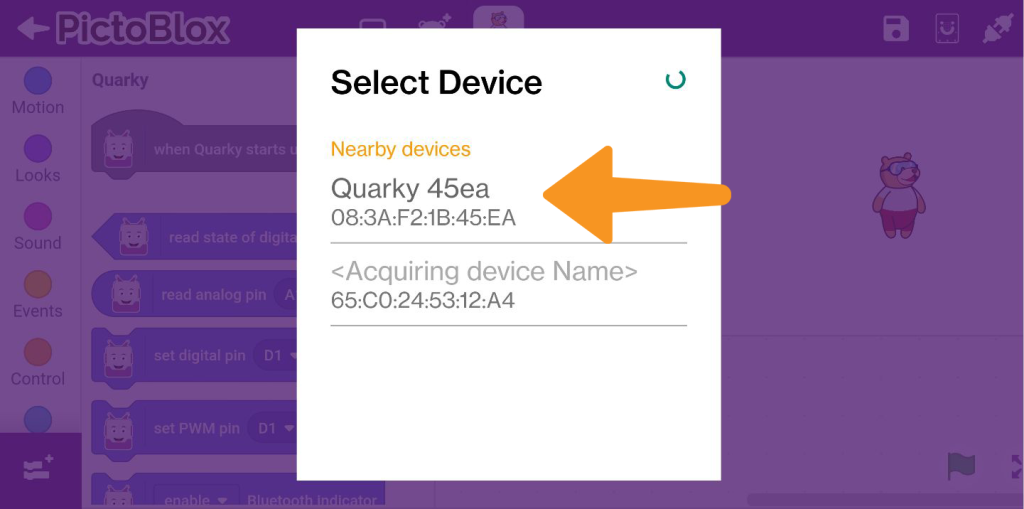
- Select the appropriate
Quarky devicefrom the list.

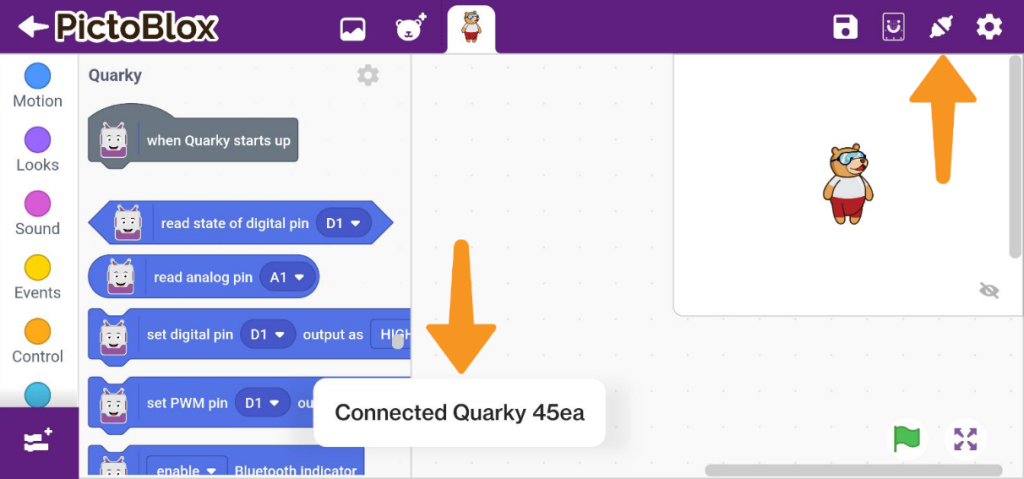
- You will be prompted with the message
Device Connected.
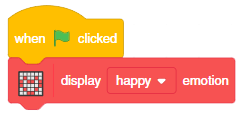
- First, go to the
Displayextension and add a display () emotion block into the scripting area. Happy by default is selected. - Click the display () emotion block. You’ll notice that Quarky is now happy!
- Drag and drop the when flag-clicked block into the scripting area from the Events palette on top of the display () emotion block.

- Run the script by clicking the green flag. You will find the happy emotion displayed with Quarky RGB LEDs.

- Create scripts that change the emotions when different keys are pressed.

- Save the program as
Quarky Emotions.

Activity 1: Output
Activity 2: Name Badge
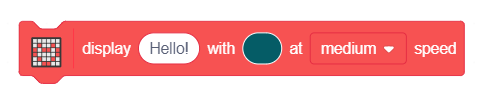
Can you believe Quarky can display text too? Let’s make a script to display Quarky’s name on the matrix.
![]()
We have to use display () with () at () speed block to make this happen. This block displays the given text on Quarky as scrolling text. It takes 3 parameters as inputs: Text, Color, and Speed of scrolling.
Coding Steps
Follow the steps below:
- Open
PictoBlox App, go toMy Space, and click on+button to create a new file. - Connect
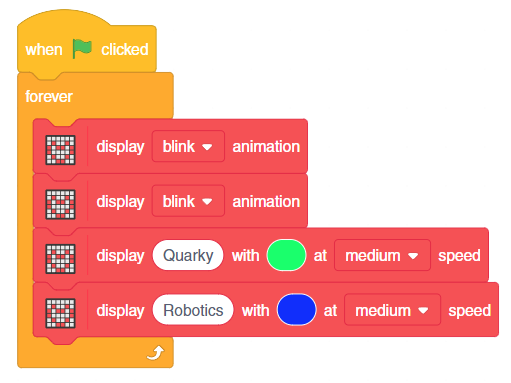
QuarkytoPictoBlox. - Drag and drop the when flag clicked block into the scripting area from the
Eventspalette. - Add a forever block from the
Controlpalette below the when flag clicked block. - Add two display () animation blocks in the forever loop and set the animation to blink.
- Go to the
Displayextension and add a display () with () at () speed block into the scripting area. In the space, write your Name. Then, set the color of the LED to any color of your choice from the drop-down and select the speed with which you want to display the text. - Add another display () with () at () speed block and write your hobby.

- Finally, run the script by clicking the green flag!
- Save the project as
Name Badge.
Activity 2: Output
![]()
Make sure you finish and submit the assignment, as well as take the quiz, before moving on to the next lesson.