
Actuators

In simpler terms, an actuator is a device that actuates another device. In other words, it is a component in a machine that absorbs energy – which can come from air, electricity, or a liquid – and uses it to enable the movement of something. The working of an actuator is analogous to how a human body works. They work in a machine to perform the movement, similar to muscles in the body that transform energy obtained from food into motion, such as arm movement.
Types of Actuators
As far as electronics are concerned, there are four main types of actuators:
Electrical: These actuators convert electricity into rotational motion, linear motion, or both. These are mainly found in electric cars, robots, etc.
Mechanical: These convert circular motion into linear (straight-line) motion. These are among the most widely used actuators, such as a pulley, and gear.
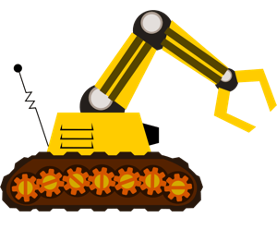
Hydraulic: These motors use liquids such as water or oil to produce motion. These can be found in cranes, bulldozers, etc.
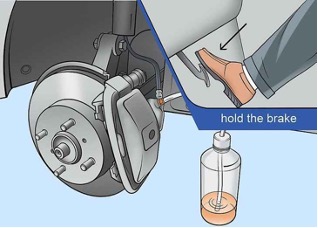
Pneumatic: These actuators use energy obtained from compressed air or high pressure and convert it into motion. They are utilized when a machine must start or stop quickly—for instance, bus brakes, fitness equipment, etc.


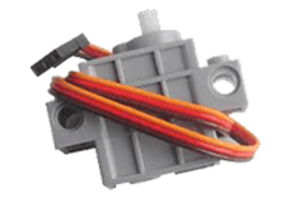
Servo Motor
A servo motor, or simply, a servo, is a device that is used to rotate or push parts of a machine to which it is connected with precision. Unlike DC motors, they generally rotate to a particular angle and then stop.
Activity 1: Assembling Obstacle-Avoiding Robot
As the name suggests, Obstacle Avoiding Robot is a smart gadget that can detect and avoid obstacles in its path by turning itself in different directions. This assembly is going to be used in our upcoming activities.
Assembly Steps
Follow the steps below:
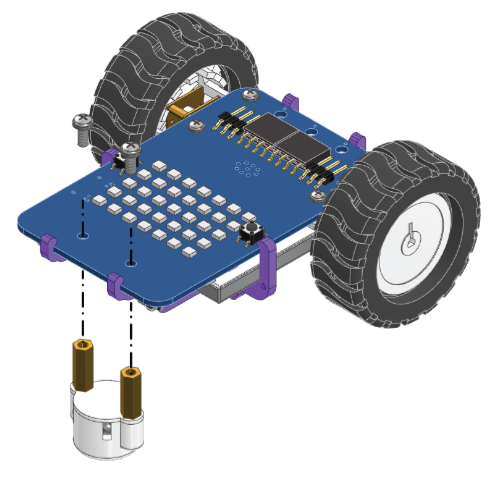
- Begin by detaching the Castor Wheel from the Robot using the Screw Driver.

- Now, fasten the B4 Plate and the Castor Wheel using the same bolt.

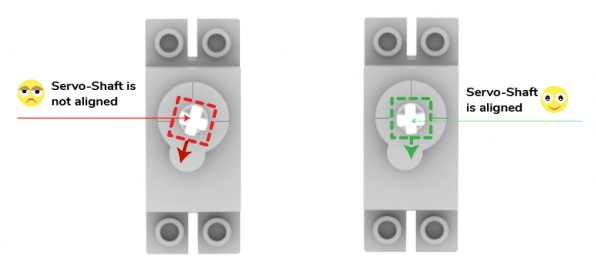
- Snap the Servo Motor onto B4 Plate. Note: Make sure that the white shaft from the Servo Motor is pointing upwards and aligned with the cross marked on the B4 Plate.

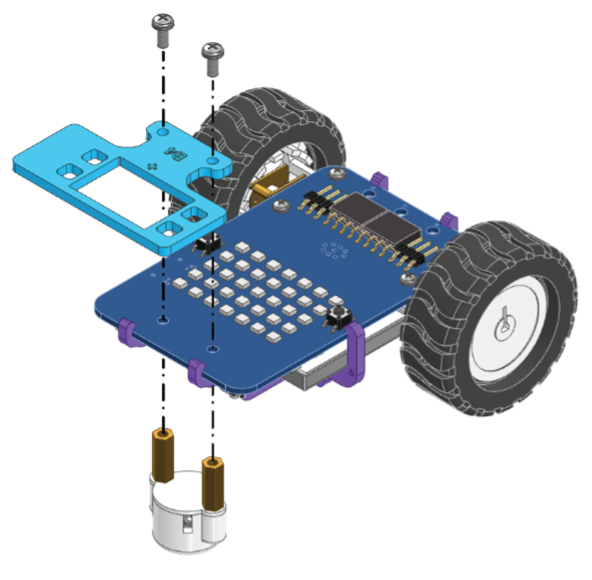
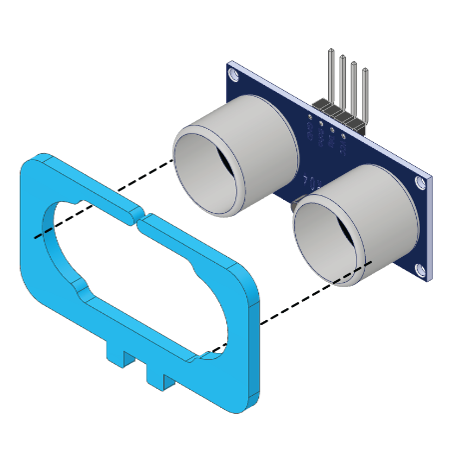
- Then, snap the Ultrasonic Sensor into the B2 Plate.

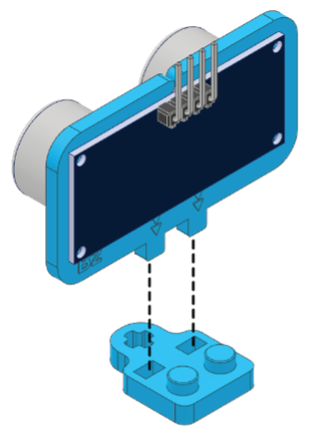
- Push-fit the B2 Plate in the B4 Plate as shown. Make sure the parts are properly aligned with each other.

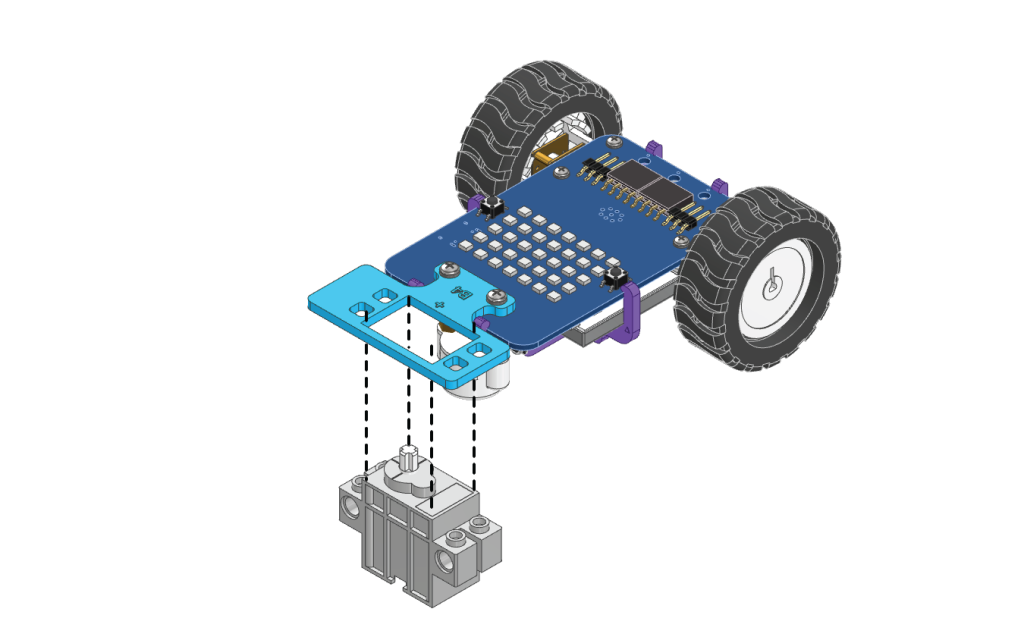
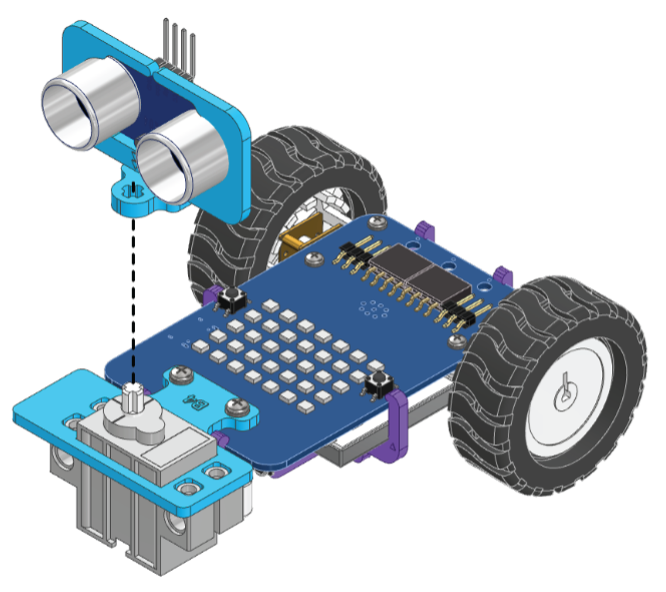
- Now, place the sub-assembly on the Servo Motor’s Shaft.

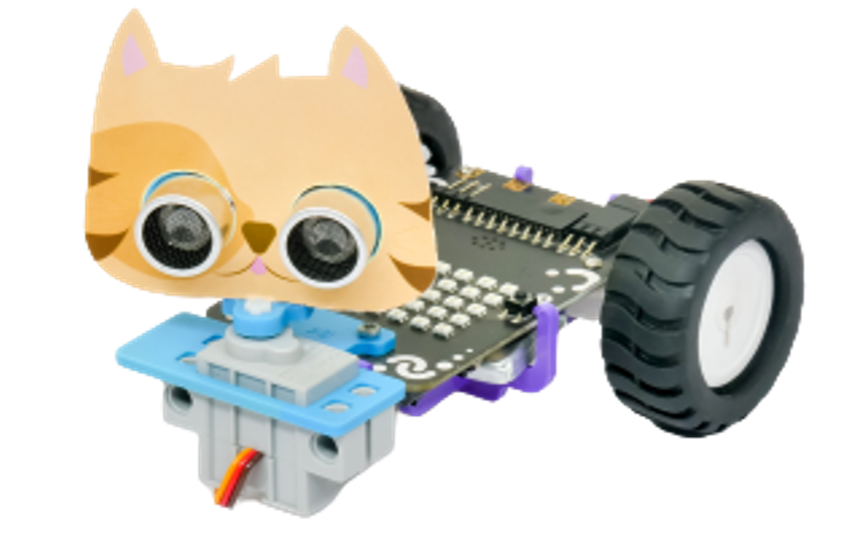
- Optionally, you can put the Paper Cutout of the Tiger on the above Robot to get make it attractive!

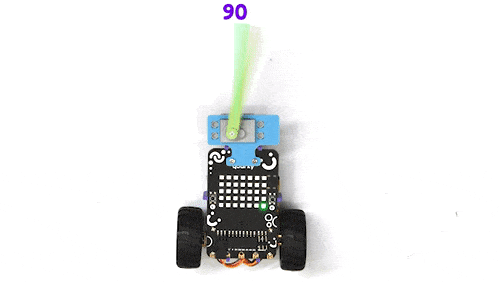
Activity 2: Calibration of Servo Motor
The purpose of servo motor calibration is to align the angle of your servo motor properly.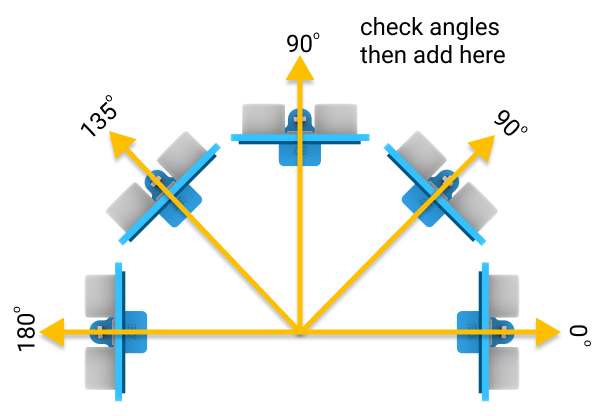
According to the servo motor’s configuration, 90° means facing forward. Therefore, 45° is on the right, and 135° on the left, which is nothing but 45° on the left, from the forward position.
The servo motor will be connected to the Quarky Servo Connector 1. There are two servo ports on Quarky.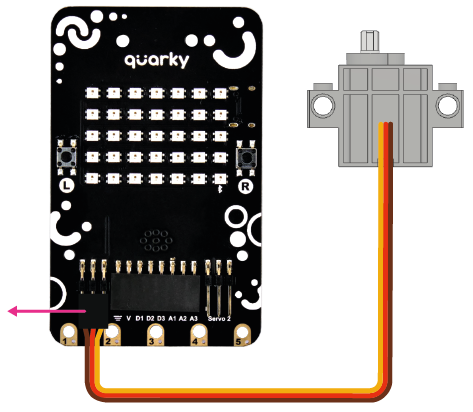
Servo Control Blocks
PictoBlox has one block that can be used to calibrate a servo motor:
Set servo on () to () angle: This block is used to change the angle of the servo motor to any particular angle between 0 to 180.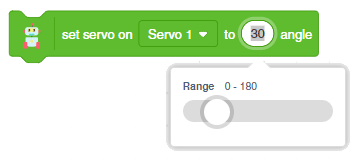
We have assembled the Obstacle Avoidance Robot. We will understand how to calibrate it using this block. Follow the steps given below:
- Create a New file in
PictoBlox App. - Connect
QuarkytoPictoBlox. - Detach the Ultrasonic Sensor Assembly from the Servo Head.
- Go to the Event block and drag and drop the when green flag clicked into the scripting area.
- Next, place the set servo on () to () angle from the Robot palette below the when green flag clicked block.

- Run the script. The servo head should get aligned properly.

- Finally, put the Ultrasonic Sensor Assembly into the Servo Head.

Your calibration is done.
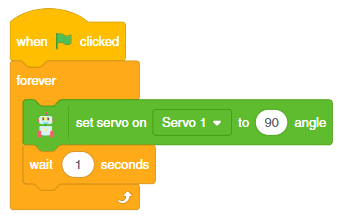
Activity 3: Servo Movement
Continuing with the next activity, here we’ll rotate the servo motor’s shaft at different angles, such as 0, 90, and 180 degrees.
Follow the steps:
- Go to the
Eventpalette and add the when green flag clicked block into the scripting area. - Place the forever block below it.
- Add set servo on () to () angle block from
Robotpalette within the forever block, and change the angle to 90. - Add a delay of 1 second by placing the wait () seconds block inside the forever block.

- Duplicate the last two blocks and now set the angle to 0 in the set servo on () to () angle
- Repeat this step and change the angle to 90, and 180 respectively for the next servo blocks.

- Click on the green flag to run it. Servo will move its angle as per the instructions.
- Save the file as
Servo Movement.

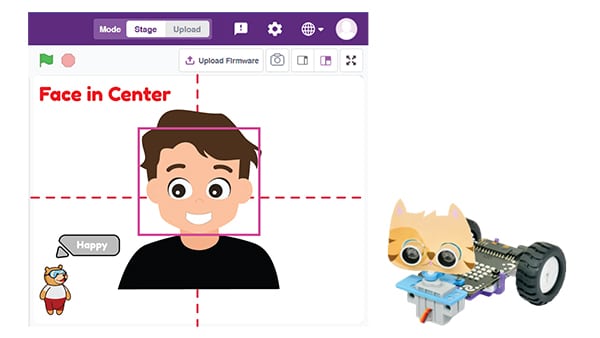
Activity 4: Face Tracking with Robot
In this activity, we are going to make the robot detect the face and track it.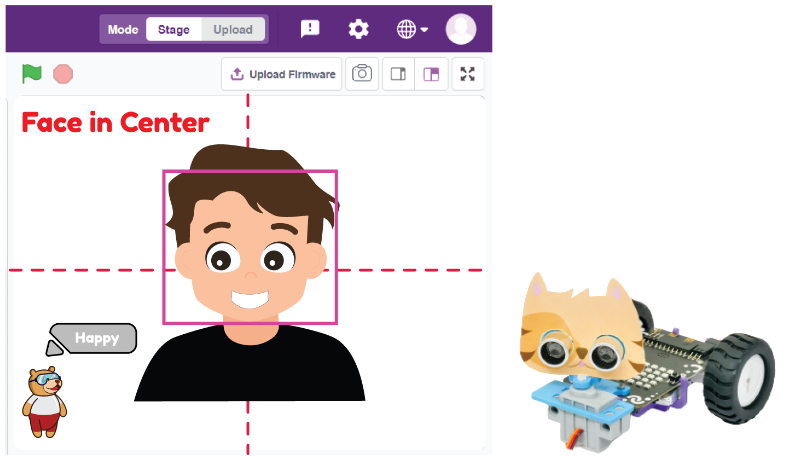

Coding Steps
Follow the steps below:
- Create a New file in
PictoBlox App. - Connect
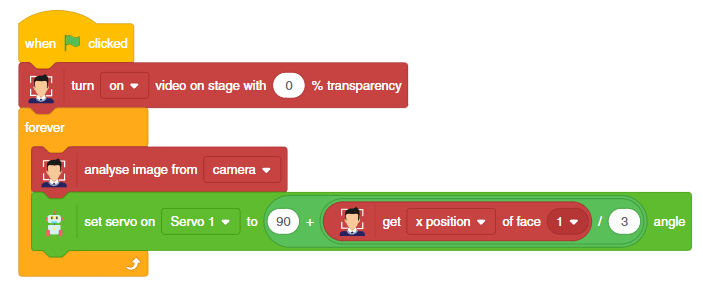
QuarkytoPictoBlox. - Drag and drop the when green flag clicked block from the
Eventspalette. - Then, add a turn () video on stage with () % transparency block from the
Face Detectionextension and select on from the drop-down. This will turn on the camera. - Add the forever block below turn () video on stage with () % transparency from the
Controlpalette. - Inside the forever block, add an analyse image from () block. This block will analyze the face the camera detects. Select camera from the dropdown.
- To change the position of your servo, add the set servo on () to ()angle below analyse image from ().
- Add the division () / ()block from the
Operatorpalette into the scripting area. - Place get () of face () at the first place of addition () + (), and 3 at the second place. From the dropdown select X position.
- Next, drag the addition ()+()block inside the set servo () to () angle block. Put 90 in the first space and put the ()/() block in the second space.
 Our next step is to check whether it is working right or not. Whenever your face will come in front of the camera, it should detect it and as you move to the right or left, the head of your robot should also move accordingly.
Activity: Output
![]()
Make sure you finish and submit the assignment, as well as take the quiz, before moving on to the next lesson.