
Manual control car
A manual control car is a toy vehicle operated by a handheld remote control. Children can steer the car left, right, forward, or backward using buttons or a joystick on the remote. It teaches kids basic hand-eye coordination and introduces them to the concept of remote-controlled devices. This interactive toy provides hours of entertainment and promotes imaginative play.
Control Your Robot Wirelessly
You gave Quarky some cool moves there! But you don’t know how to control it as of yet. In this topic, you’ll learn how to do that. So, let’s get started!
Understanding the Logic
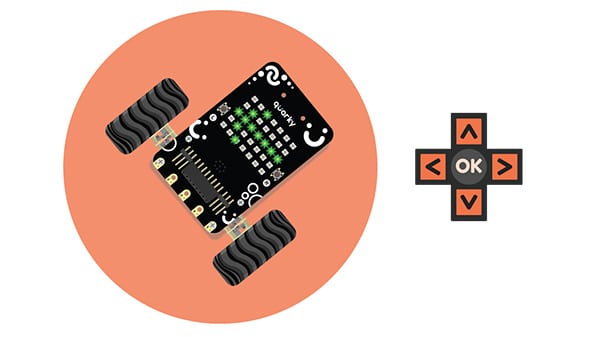
We’re going to control Quarky wirelessly using the arrow keys of the keyboard of your desktop/in the PictoBlox mobile app.
Here’s how:
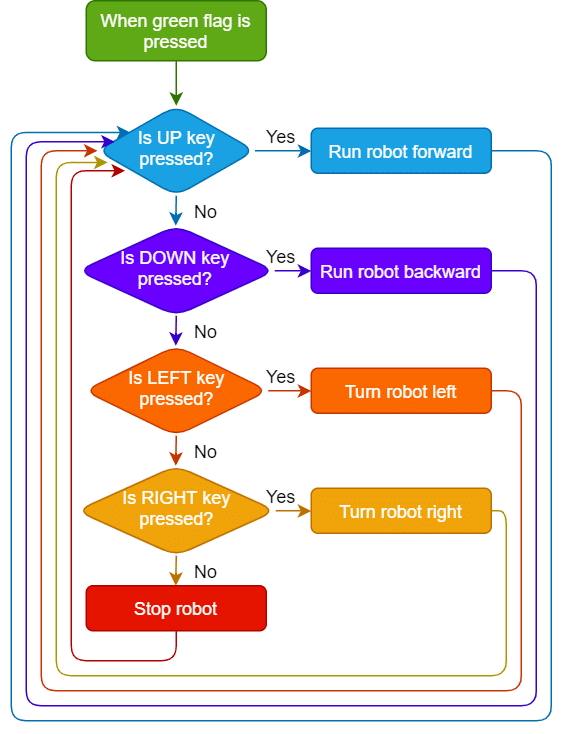
- Using the up arrow key, we will make Quarky move forward.
- Using the down arrow key, we will make it move backward.
- Using the right arrow key, it will move right.
- Using the left arrow key, it will move left.
- When none of the arrow keys is pressed, Quarky should stop moving.
Now, let’s put our plan into action!
Let’s Code
- First, power up the Quarky and connect it to PictoBlox as shown in the previous topic.
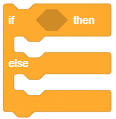
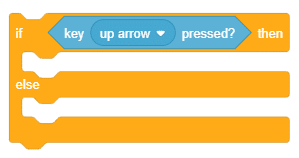
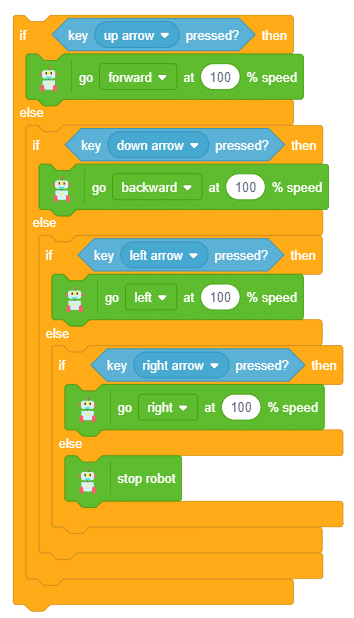
- We want to ensure that Quarky moves forward only if the up arrow key is pressed. To check if it is pressed, we’re going to use an if block. Go to the Control palette and drag and drop an if-else block.

- Now, go to the Sensing palette and add a key () pressed? block inside the diamond-shaped space of the if block. This block will check if the selected key is pressed. The up arrow key is the default option.
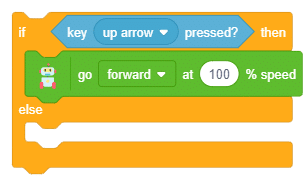
 If the up arrow key is pressed, we want Quarky to move forward. Therefore we will now add a go () at () % speed for the () second block.
 - Go to the Robot palette and add a go () at () % speed for () second block inside the if block.Now, we need to do the same for the remaining three directions.

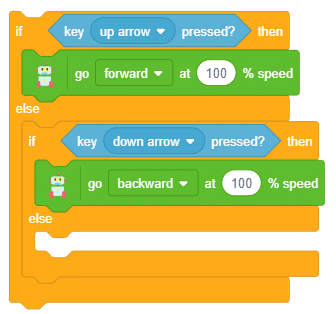
- Duplicate these blocks by right-clicking the if-else block. Then, in the key () pressed ? block, change the key to down and in the go () at () % speed for () second block, change the direction to backward.

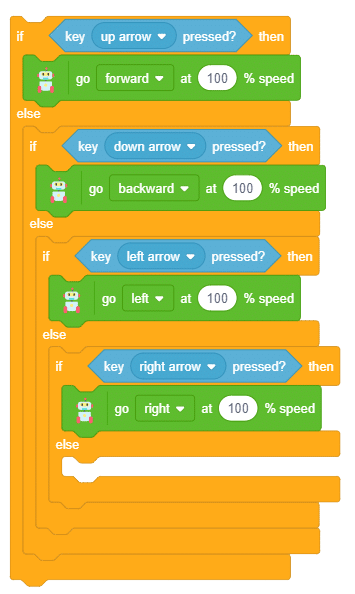
- Repeat step 5 two more times for the remaining two directions.

- Now put the stop robot block in the last else branch.

- Complete the script by adding a forever & when flag clicked blocks at the top.

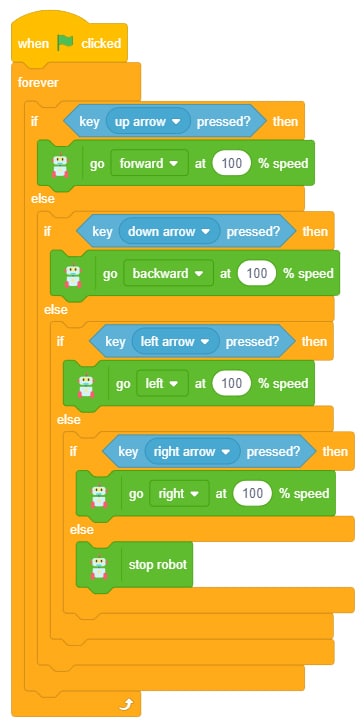
Now, run the script by clicking the green flag. Have fun playing with Quarky! 🙂
Save the project file as Wireless Robot.